Note: Only a user with a System Manager user account may add a local report.
In
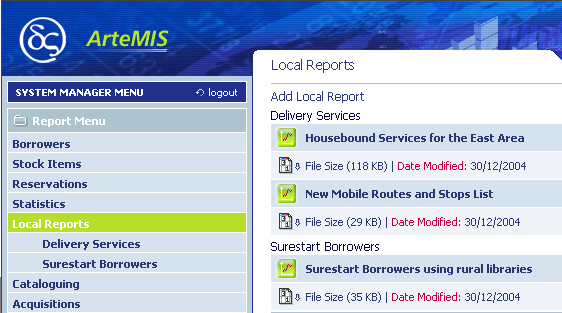
the Categories section, click on the Local
Reports report category.
The right section will list the available reports of the selected type.
Click
Add Local Report.
The Add Local Report form will appear.
In Report Name, type in the name of the report.
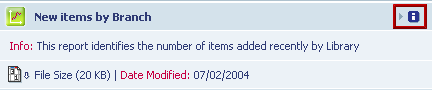
In Report Description, type in a description of the report. This is the text that is shown when you click the information icon beside the report entry, after it has been added to the list of Local Reports.
In
Report Subheading, type in a subheading
for the report. This text allows you to group your Local Reports under
sub-categories in the list of Local Reports.
For example, if you add several reports with the subheading Delivery
Services, then, after the reports have been added to the list of
Local Reports, they will appear grouped below each subheading. The subheadings
are also added to the Report Categories list.
In Choose Your File To Upload, type in the full path and file name of the report you want to add, or click Browse and then select the report to add. Only Microsoft Excel files with the filename extension XLS are acceptable.
Click
Add Local Report at the bottom
of the form.
The success or failure of the addition (upload) will be shown at the
bottom of the screen.